Hey there, fellow developer! If you're diving into Tailwind CSS, you're probably loving its speed and efficiency. Imagine building beautiful designs by just adding small, descriptive classes to your HTML – it's a game-changer!
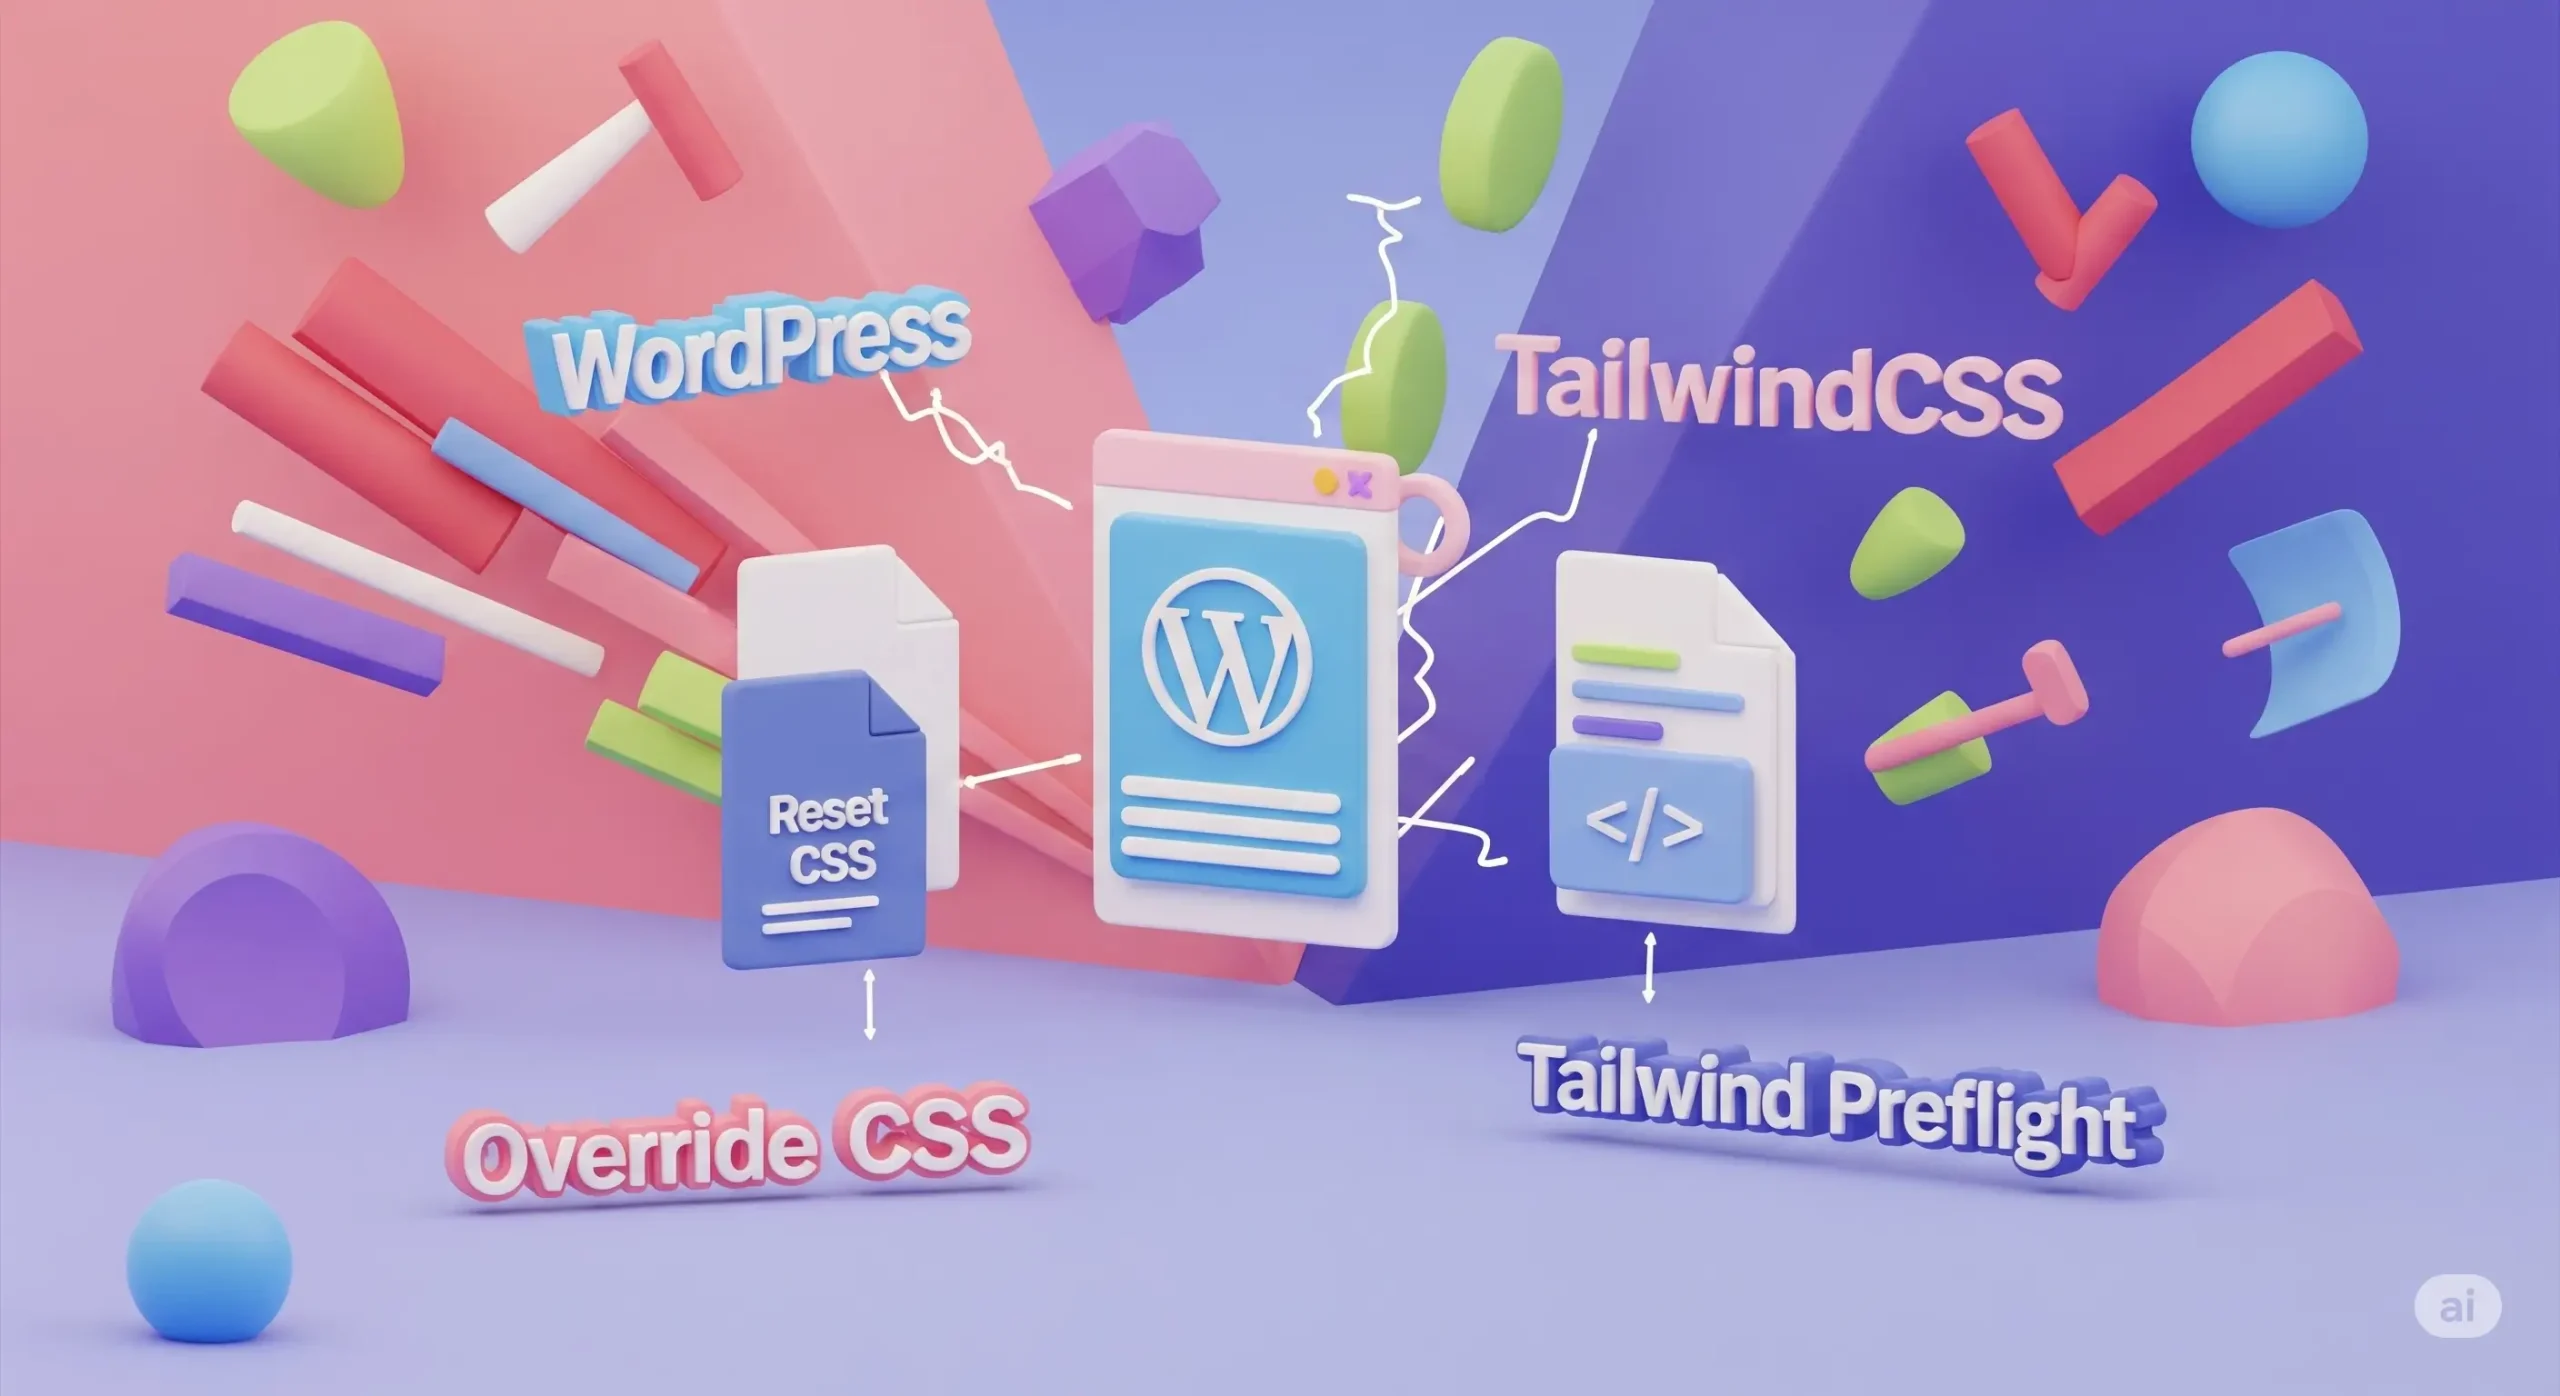
But then, you bring Tailwind into your beloved WordPress site, and suddenly, things look... different. Headings might shrink, lists lose their bullet points, or your carefully crafted buttons look plain. This isn't a bug; it's a "feature" called Tailwind Preflight, and it's often the root of these initial styling clashes.
Don't worry! In this post, we'll break down what Preflight is, why it conflicts with WordPress, and most importantly, how to solve these issues so your site looks exactly how you want it.
## Understanding the Core Conflict: What is Tailwind Preflight? Think of Tailwind's Preflight as a super-smart "reset button" for your browser's default styles. Every web browser (Chrome, Firefox, Safari) has its own slightly different way of displaying basic HTML elements – like how much space is around a heading, or if a link is underlined.
Preflight's job is to:
1. Standardize: Make sure elements look the same across all browsers.
2. Clean Slate: Strip away many of those default styles so Tailwind's utility classes have a clean canvas to work on. For example, it often removes default margins from headings, takes away underlines from links, and removes bullet points from lists.
### The WordPress Collision Course Here's where the clash happens: WordPress themes and plugins often rely on, or even add to, those very browser default styles that Preflight removes. They expect headings to have certain spacing, or lists to have specific bullet points.
When Preflight loads, it basically says, "Nope, those default styles are gone!" and WordPress's CSS gets confused. It's like having two chefs in the kitchen: one wants to use the default ingredients, and the other removes them all before starting. The result? A messy dish (or a messy website!).
You might see:
- Headings looking too small or unstyled.
- Lists without bullet points or numbering.
- Links missing their underlines.
- Form elements looking plain.
- General unexpected changes to your WordPress theme's built-in elements.
## Spotting the Battle: How to Diagnose Preflight Issues
Your best friend here is your browser's Developer Tools (usually opened by right-clicking on an element and choosing "Inspect" or "Inspect Element").
1. Hover and Click: Click on the element that looks "off."
2. Styles Tab: In the Developer Tools window, go to the "Styles" tab.
3. Look for "Preflight": You'll often see CSS rules specifically from tailwindcss/preflight.css or simply marked as user agent stylesheet that have been overridden or are overriding something else. Look for properties that are crossed out – this means another style is winning the "specificity war" (meaning one CSS rule is stronger than another). This helps you see if Preflight is stripping away styles you want, or if WordPress is fighting back against Preflight.
## Making Peace: Solutions for Preflight Conflicts
Now for the good part! Here are a few strategies to make Preflight and WordPress work together, from the simplest to more advanced:
### Option 1: The "Big Hammer" - Disabling Preflight Entirely This is the quickest fix if Preflight is causing widespread chaos, but it means you lose all of Preflight's standardization benefits.
How to do it: Open your tailwind.config.js file and add this line:
JavaScript
 // tailwind.config.js
module.exports = {
// ... other Tailwind configuration
corePlugins: { preflight: false,
// This line disables Preflight }, /
/ ... rest of your config
};
Pros: Immediately solves many conflicts.
Cons: You'll need to manually handle browser inconsistencies or add your own basic resets. Not generally recommended for a consistent design.
Pros: Immediately solves many conflicts.
Cons: You'll need to manually handle browser inconsistencies or add your own basic resets. Not generally recommended for a consistent design.
### Option 2: The "Surgical Strike" - Overriding Preflight with WordPress CSS
This is often the most practical approach for entry to intermediate users. You let Preflight do its thing, but then you specifically tell WordPress elements to look how you want them.
How to do it:
You'll add custom CSS to your WordPress site. The best places are:
Your Child Theme's style.css file (if you're using a child theme).
Appearance > Customize > Additional CSS in your WordPress admin.
In this custom CSS, you'll write rules that specifically override what Preflight did. Remember CSS specificity – a more specific rule (like targeting a class or ID) will win over a general rule. Sometimes, you might need !important (use sparingly!) if WordPress's styles are very stubborn.
Example: Restoring List Bullets and Link Underlines
CSS
/* In your child theme's style.css or Additional CSS */

/* Make lists have bullets again */
ul.wp-block-list, /* Target specific WordPress list classes if needed */
ol.wp-block-list {
list-style: disc !important; /* !important to ensure it wins */
margin-left: 1.5em !important; /* Add back indentation */
}

/* Make all links have underlines again */
a {
text-decoration: underline !important;
color: var(--wp--preset--color--link, [#0073aa](project/phanpeter-happyhandswikireport/t/0073aa)); /* Use WordPress link color if available, fallback to default */
}

/* Example: Adjusting heading margins to match theme */
h1, h2, h3, h4, h5, h6 {
margin-block-start: 1em; /* Adjust as per your theme's look */
margin-block-end: 1em; /* Adjust as per your theme's look */
}
Pros: Keeps most of Preflight's benefits while selectively fixing specific elements.
Cons: Can become a bit tedious if you have many elements to fix.
### Option 3: The "Enclosed Garden" - Scoping Tailwind (and Preflight)
This is great if you only want to use Tailwind for specific sections of your WordPress site, like custom blocks or components, and keep the rest of your theme untouched.
How it works: You create a special HTML container (like a div) with a unique ID or class. Then, you configure your Tailwind build process so that all of Tailwind's styles (including Preflight) only apply within that specific container. This is a bit more advanced and usually involves setting up a PostCSS build process for your Tailwind-powered components.
Example Concept (implementation is more involved):
HTML
<div id="my-tailwind-component">
<h2 class="text-xl font-bold">My Tailwind Heading</h2>
<ul class="list-none">
<li class="p-2">Item 1</li>
</ul>
</div>
Pros: Complete separation; no conflicts with existing WordPress styles outside the container.
Cons: More complex setup, requires a dedicated build process for your custom Tailwind components.
### Option 4: The "Harmonious Blend" - Customizing Preflight with [@layer](profile/layer) base
This is a more integrated way to tell Preflight, "Hey, for these specific things, use my rules instead of your defaults." You define your custom base styles within your Tailwind CSS file.
How to do it: In your main CSS file (e.g., src/input.css or wherever you import your Tailwind layers), add a [@layer](profile/layer) base block:
CSS

/* src/input.css (or similar) */
[@tailwind](profile/tailwind) base; /* This includes Preflight */
[@tailwind](profile/tailwind) components;
[@tailwind](profile/tailwind) utilities;

[@layer](profile/layer) base {
/* This CSS will override Preflight for h1-h6 elements */
h1, h2, h3, h4, h5, h6 {
/* Example: Give headings back some default margin */
margin-top: 1em;
margin-bottom: 0.5em;
/* You could even use WordPress theme variables here if you know them */
/* font-size: var(--wp--preset--font-size--h1, 2.5rem); */
}

/* Example: Give unordered lists their bullets back */
ul {
list-style: disc;
padding-left: 1.5em; /* Add some padding for the bullets */
}

/* Example: Ensure links have an underline by default */
a {
text-decoration: underline;
}
}
Pros: Keeps your base style overrides directly within your Tailwind workflow. A cleaner approach for managing global base styles.
Cons: You need to know which specific WordPress styles you want to restore.
## Best Practices for a Smooth Journey
- Always Use a Staging Site: Never make these changes directly on a live WordPress site. Test everything in a safe, development environment first!
- Start Small: If you're new, don't try to fix everything at once. Tackle one styling issue at a time.
- Document Your Fixes: Keep notes on what changes you made in tailwind.config.js or your custom CSS, and why. Your future self (or teammates) will thank you!
## Conclusion: Building Beautiful, Conflict-Free WordPress Sites
Tailwind CSS offers incredible power and efficiency, and while its Preflight reset can initially seem like a headache in WordPress, it's a manageable challenge. By understanding why these conflicts happen and applying the right solutions – whether it's a targeted override or a more integrated approach – you can harness the best of both worlds.
Happy coding, and may your WordPress designs always be pixel-perfect!


